Jam is a sweet staple in many households but few people actually make their own! I certainly didn’t for the longest time, thinking the lovely flavor was probably difficult to achieve. Or with my luck the jars would explode. I also had that picture of my grandma pouring wax on the jam in my head, wide orange rubber bands, and whatnot…
But surprise, surprise, in modern reality, making jam is actually quite easy. And once you successfully tried it, you realize that there is a world of flavors out there to experiment with. After that, who would want to go back to the store-bought stuff?!
There are just a few things to keep in mind when making jams:
-Flavorful fruit makes flavorful jam, so if you can, go with ripe seasonal selections!
-Because you are not adding a boatload of preservatives, you need to work cleanly.
-Have an oven mitt, a towel, and tongs ready because you are dealing with boiling water, boiling jam, and hot jars!
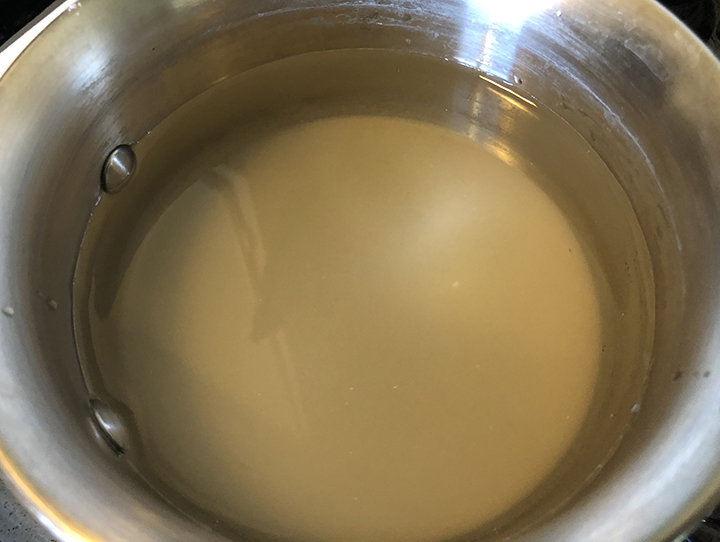
Sterilize the jars
If you are making jam for immediate use, you do not need to go through this step. But if you plan to enjoy your jam collection for a long time (or share with friends – hint, hint!), sterilizing the jars and equipment is important. This is how I do it:
- In a clean pot, bring water to boil.
- Select jars and lids and immerse them in the boiling water for a few minutes. Don’t overcrowd the pot; it is better if the items do not touch.
- Remove from pot with a jar lifter or tongs with gripping ends.
- In the same way, sterilize the ladle and funnel you plan to use.
- Put all on a clean towel to dry.

Sterilize by boiling 
Prepared jars, lids, etc.
Prepare the fruit
First off, make sure you start with enough fruit! Especially if you have very ripe or cosmetically challenged fruit or fruits with heavy pits, the net weight will be considerably lower than the starting weight!
Whatever fruit you use, make sure to discard any moldy or heavily bruised bits.
Further fruit preparation depends on the variety of fruit. Here are some starting points:
-Blueberries just need a quick wash.
-Wash non-organic strawberries really well. Strawberries belong to the fruits most likely to be contaminated with pesticide residues.
-If you do not like the seeds in fruits like blackberries, press them through a sieve.
-Cherries need to be pitted but not peeled.
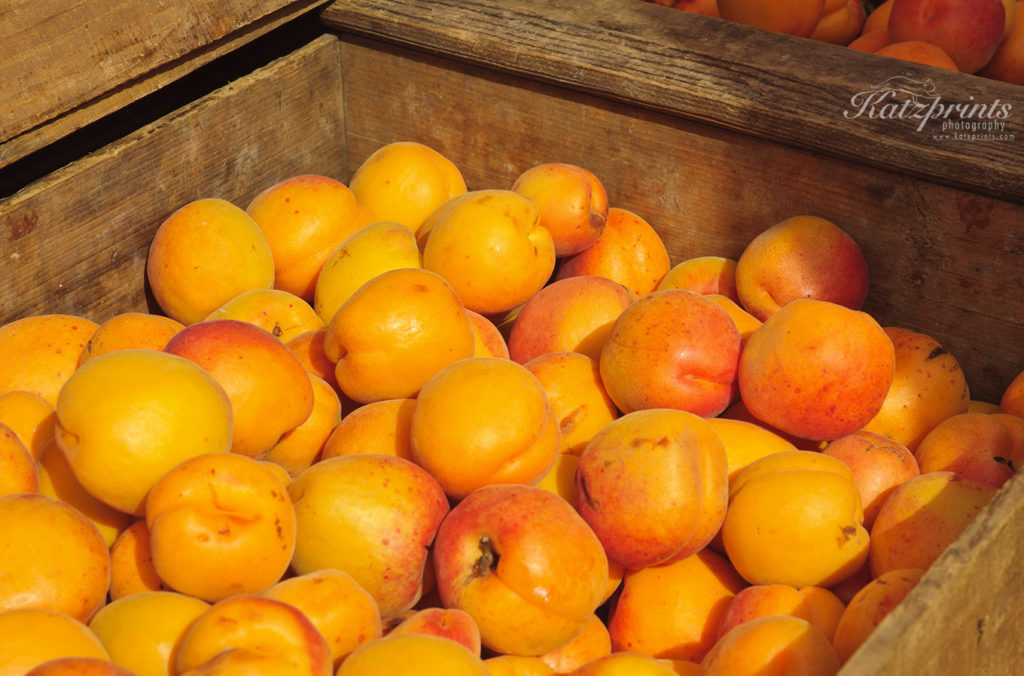
-Peaches, nectarines, and apricots need to be both pitted and peeled. The best peeling method depends on the level of firmness/ripeness of your fruits. If very firm, just use a vegetable peeler. Another method is to boil the fruits a few seconds and then immediately immerse them in ice water. In very ripe fruits, the peel usually comes off easily with a gentle rub.

Weigh the fruit after peeling and pitting to make sure you have the exact quantity needed (in my case that is one kilogram, or about two pounds).
I use a stick blender to puree everything to the desired texture because that’s super quick and easy. However, you can also chop the fruits with a knife and mash them.
Pectin
The most important thing to achieve when making jam is the jelling of the fruit. That can be reached in two basic ways: natural pectin release and long cooking and reduction (this is what we do for our apple butter – it easily takes 10 hours in the oven), or by using a pectin product.

I love, love, love jams that are not too sweet and that is why my personal preference is to use a German product that allows me to cut back on sugar considerably. It is called Gelfix Extra 2:1 (indicating 2 parts of fruit to 1 part of sugar) by Dr. Oetker. If you like your jam even fruitier, they also make Gelfix Super 3:1! In the Bay Area, it is available in German stores like Gourmet Haus Staudt. However, you can also order the product online. If you don’t have access to Gelfix or if you like your jam sweeter, use a classic pectin product from the grocery aisle. Typically, they work for a 1:1 ratio of fruit and sugar. No matter which product you use, the actual jam-making steps are quite similar.
Make the jam

Boiling the fruit-sugar puree 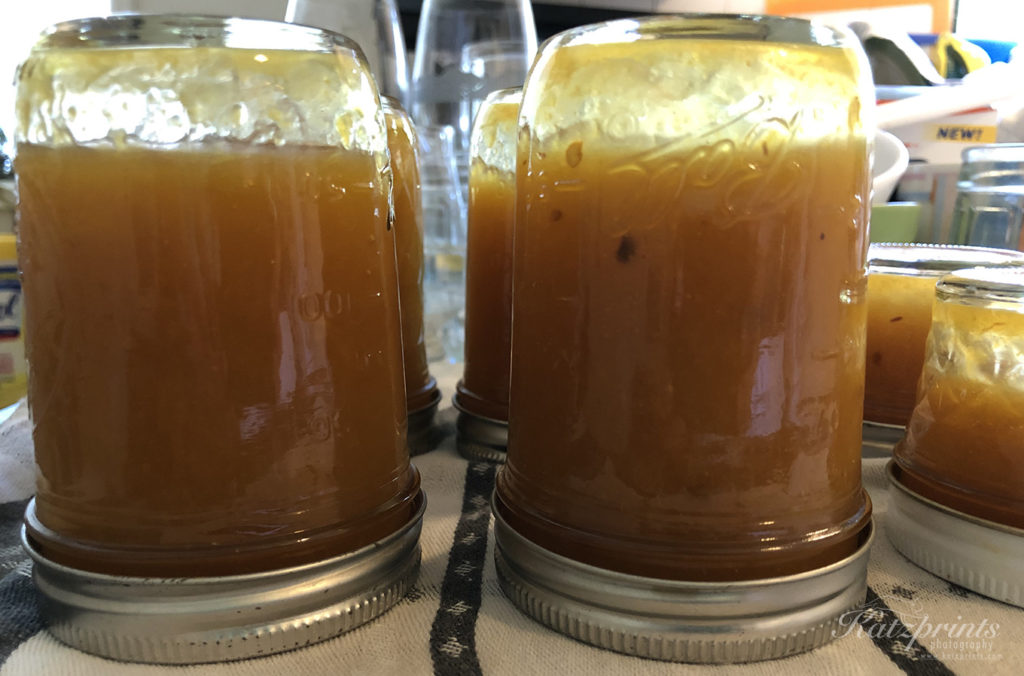
A quick upside down rest
- Mix sugar and the pectin product in the ratio required by the product.
- Add it to the prepared fruit puree.
- Bring to a boil and let boil as indicated (I boil mine 4 minutes).
- Constantly stir as the mixture boils.
- If the mixture produces a lot of foam, spoon it off (you can eat it but it’s not good to have it in the jar).
- After the designated boiling time, you should feel the jam texture changing. Turn off the heat, and ladle the jam into the prepared jars (careful, hot!)
- Close the jars immediately making sure the lid fits perfectly.
- Place the jars upside down on a clean towel for 5 minutes. This is also when you will notice if you have a bad lid…
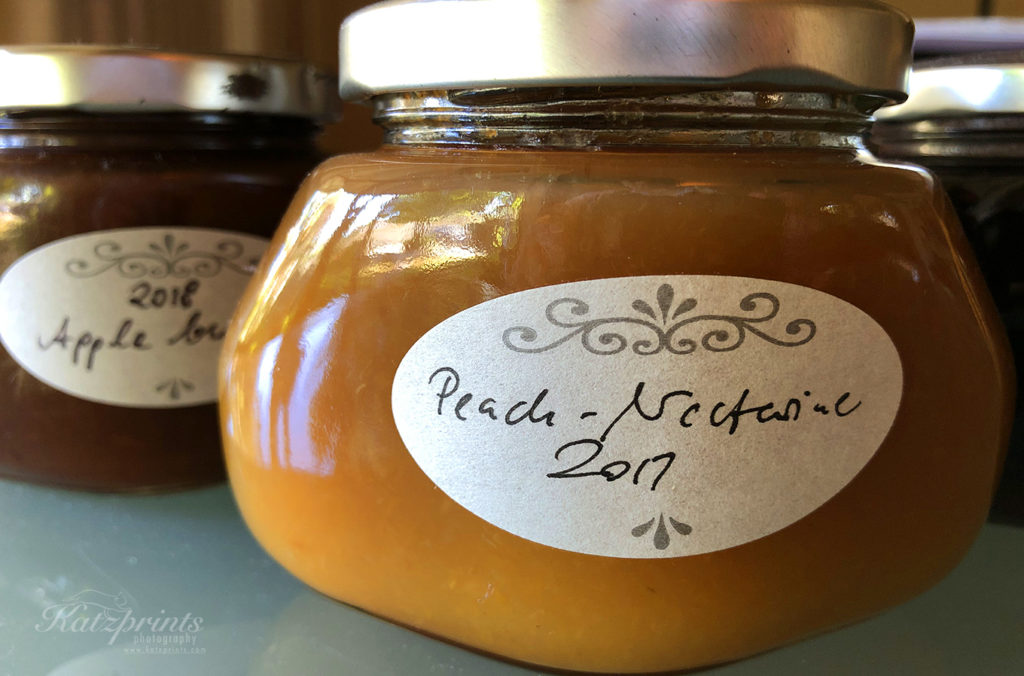
- Make labels.
- Enjoy!
After you have made jam once, it gets faster every time. And think about the next flavors you might like to try. Maybe add alcohol? (Pear and cognac is delicious!) Or experiment with herbs or spices. (I just made peach-mango jam with chili flakes…) Oh, and go for it, mix fruits! There are so many choices!
And here is a trick I learned from my mom: you can prepare the fruit puree in summer and freeze it! Then if you run low on jam, grab that bag of delicious summer-sweet peaches, and make a new batch in the midst of winter. How cool is that?!
Happy jam-making!